
Skip to content

Device & firmware assessments

Device teardowns, firmware and component checks.

Understand a device’s construction, the parts it contains and the firmware it runs. We scope the examination around your question, then document what the work establishes and what still needs an answer.

Scope

Start with the question, then choose the examination.

A teardown might help explain an unexpected component, a supplier discrepancy, a repair concern or a difference between two units. The useful result is a clear account of what was examined, how it compares and what that means for your decision.

We agree the access, reference material and methods before accepting the device. Work can combine stereo microscopy, component research, electrical bench measurements, thermal imaging and analysis of accessible firmware. FTIR spectroscopy and wet-lab work can address material questions where the sample and method are suitable.

OASIS lab

Electronics and materials, examined together.

Our electronics bench and full wet lab let us examine a device across its circuitry, firmware and physical materials. We choose the equipment and methods around the question you need answered.

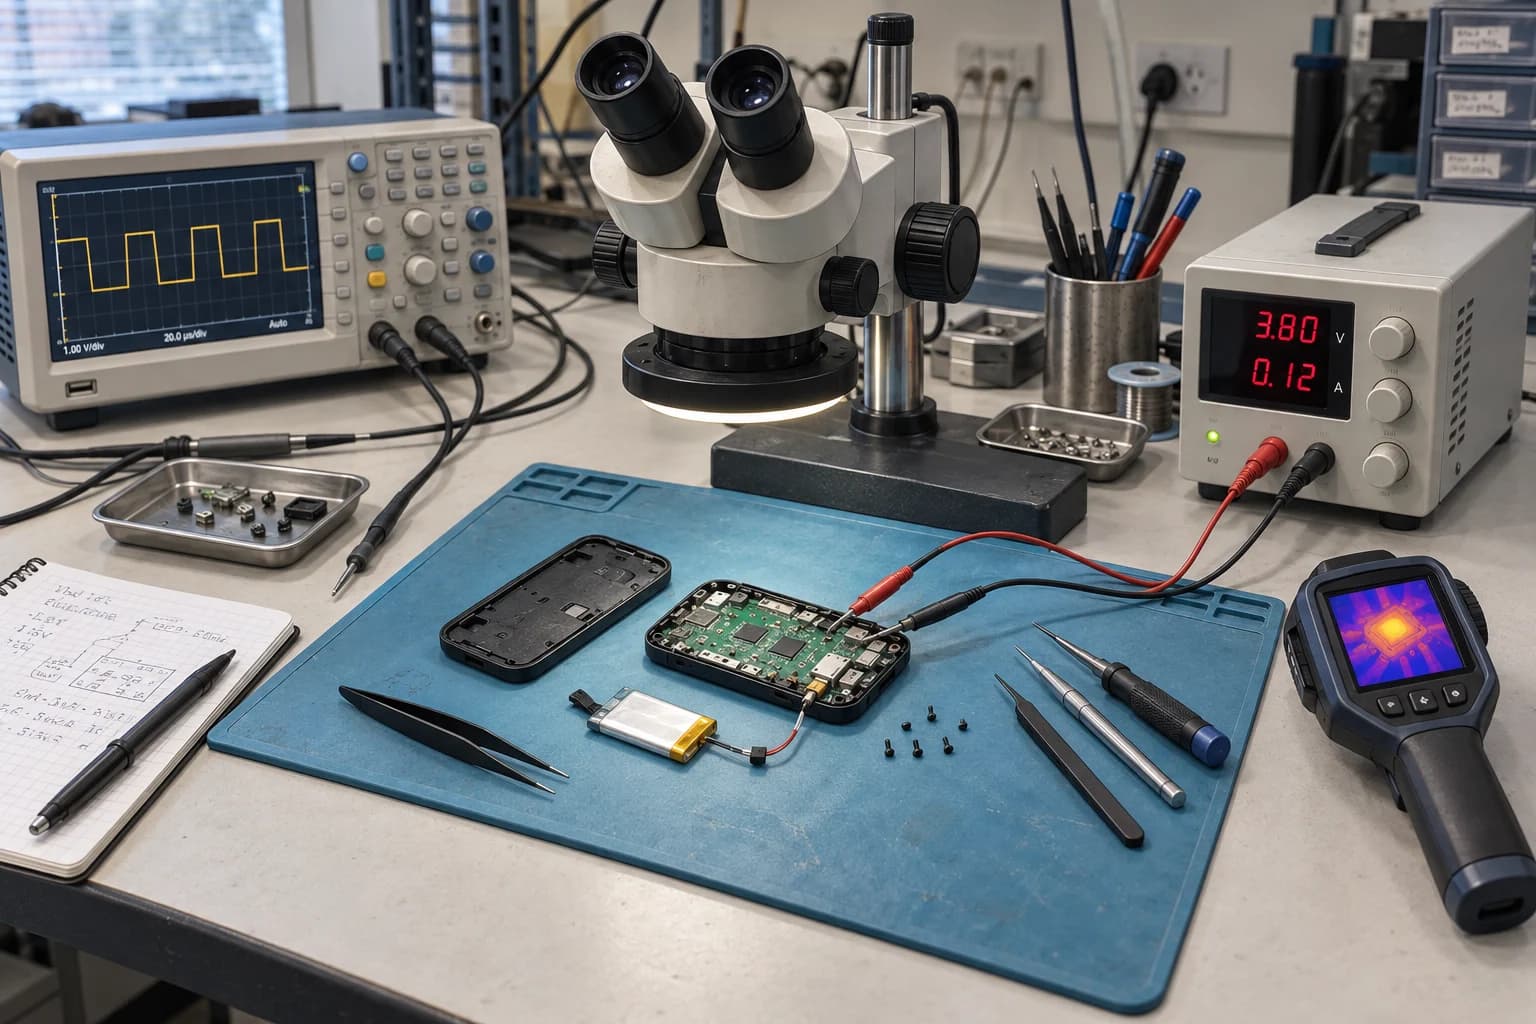
Generated view of an electronics bench with a stereo microscope, an opened device, an oscilloscope, a bench power supply and a thermal camera.

Electronics bench

Stereo microscopy, controlled power, oscilloscope measurements and thermal imaging.

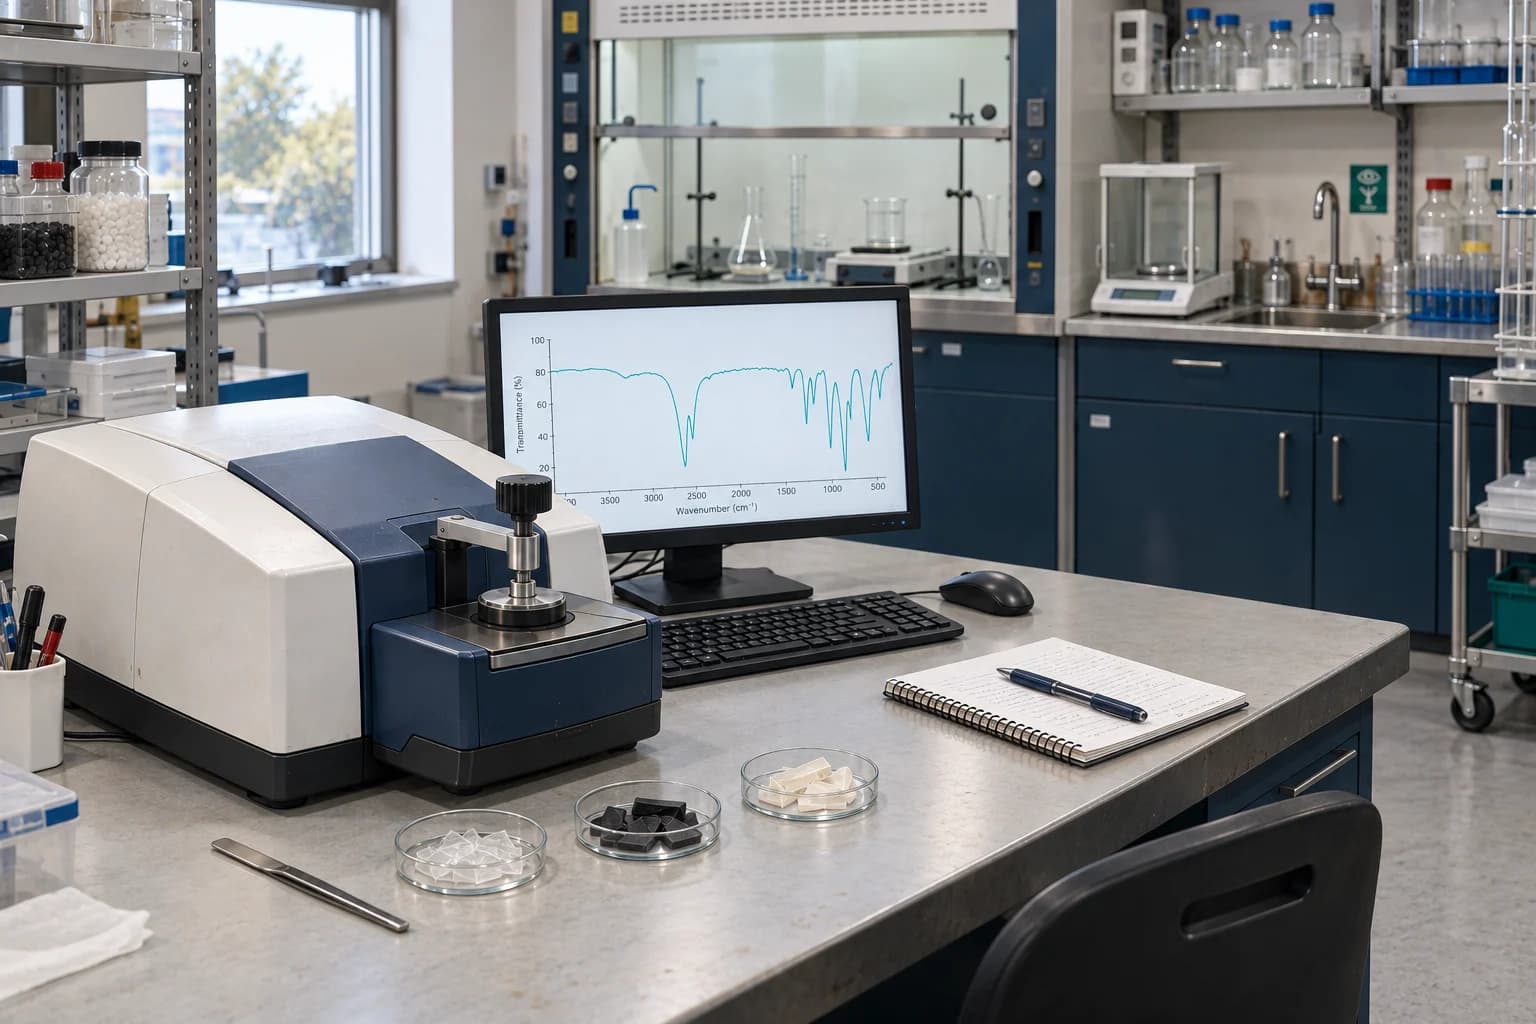
Generated view of a materials workspace with an FTIR spectrometer and polymer samples, beside a separate wet-lab bench and fume hood.

Materials and wet lab

FTIR spectroscopy, sample preparation and chemical analysis chosen for the material question.

Generated views of OASIS lab capabilities. Equipment and room layouts are representative.

The process

From intake to a usable technical report.

  1. Agree the question and permission

    Define the device, the decision you need to make, authorized access and handling requirements. Agree any opening, powering, readout or destructive sampling before it happens.

  2. Record the starting condition

    Record identifiers, supplied accessories, visible condition and relevant history. Photograph the device before opening it and keep a record of the agreed work and changes to its state.

  3. Examine and compare

    Apply the selected methods and compare the results with available documentation, reference units or files. Record the setup, differences and areas that could not be examined.

  4. Explain the findings

    Tie each conclusion to the recorded observations and references. Deliver the agreed artifacts, unresolved questions and practical next steps, then follow the agreed return or disposal arrangements.

Methods & equipment

What the examination can cover.

The scope can draw on the following methods. The device, access and available references determine which belong in your assessment.

Exterior, tool marks and board inspection

Stereo microscopy

We record the enclosure, labels, seals, fasteners and connectors before opening the unit. A stereo microscope helps us inspect accessible board areas, component markings, solder joints and wear around fasteners or clips. Images include the surrounding area so a detail can be located on the device.

Scratches, solder residue or a disturbed fastener can come from assembly, repair or later handling. We compare them with the device history and a suitable reference where available. A mark alone does not establish who made it, when or why.

In the report: Annotated photographs and a record of visible differences, their locations and areas that could not be inspected.

Component identity and authenticity

Markings, documentation and sourcing records

We compare accessible package markings, part numbers, board revisions and date or lot codes with manufacturer documentation, available bills of materials and reference units. Purchasing records and the supplier chain help establish where a part came from.

Inconsistent codes, altered surfaces or unexpected parts deserve a closer look. Matching markings alone do not authenticate a part; counterfeits can reproduce them. We distinguish a documented match, a discrepancy and a question that needs manufacturer confirmation or a specialist test.

In the report: An inventory of the examined parts, the comparison sources and any unresolved authenticity questions.

Powered checks and thermal observations

Bench power supplies, oscilloscopes and thermal imaging

When powered testing is appropriate, we first confirm the supply requirements, grounding, probe limits and device condition. Current-limited bench power and suitable oscilloscope probes can help us examine accessible supply rails, start-up behavior, ripple or other agreed signals. We record the load conditions and measurement setup.

Infrared thermal imaging adds context to heat patterns under the agreed operating conditions. Surface emissivity and reflections affect the reading, so an apparent hot spot needs to be checked in context. These measurements describe the tested conditions; electrical safety or product certification requires its own scope.

In the report: Selected measurements or traces, test conditions and an explanation of any differences that matter to the question.

Firmware and configuration

Authorized readout and file analysis

We start with accessible sources: a vendor update image, an authorized device export or a readout whose interface and tooling have been confirmed. The record identifies the source, device and board identifiers, reported version, acquisition method and hashes of the acquired files.

Where an image is readable, static analysis can examine configuration and included components, compare documented references, or review update and boot protections. Device-specific regions may differ legitimately. Encryption, locked interfaces and incomplete images can limit what is visible. A hash lets us check whether file bytes have changed; it does not establish that firmware is trustworthy.

In the report: A file and hash manifest, the comparisons performed, findings from the agreed analysis and any unreadable or unexamined areas.

Plastic housings and material analysis

FTIR spectroscopy and wet-lab preparation

An enclosure marked PC, ABS or PC+ABS names a polymer family or blend. We record those markings, visible seams, surface changes and damage, then compare them with available drawings, specifications or reference parts. A molded label and the look or feel of a plastic do not establish its exact grade, fillers or formulation.

For chemical identification, FTIR spectroscopy can compare a sample’s infrared spectrum with suitable reference material or a spectral library. Our wet lab supports scoped sample preparation and chemical analysis when inspection alone cannot answer the material question. Sampling and methods are agreed before material is removed or treated.

Coatings, contamination and mixed materials can affect the result and may need separate sampling. We explain which part of the sample was measured and how well the reference fits. Thermal imaging describes heat patterns; FTIR examines infrared absorption associated with the material. Neither a surface spectrum nor a molded label establishes every ingredient in a finished part.

In the report: The declared material type, sampling record, agreed analytical results and reference comparisons, with limits on material identification.

Deliverables

What you receive.

  1. A technical report answering the agreed question, with findings linked to the observations and comparison material.

  2. The agreed photographs, component records, measurements, traces or firmware-file manifest from the methods used.

  3. A record of the received condition, authorized work, methods, references and changes made during the assessment.

  4. Unresolved questions, limits on the conclusions and practical next steps for your engineering or supplier discussion.

Deliverables follow the accepted scope. A visual examination will not produce the same artifact set as a firmware readout or a powered test.

Before we begin

Discuss the scope before sending a device.

Start with the device type, the technical question, relevant history, available reference units or files and any data-sensitivity or handling constraints. Let us know whether the unit needs to remain operational and whether opening it may affect a warranty or seal.

Use the initial contact form for a high-level summary. Authorization, transport, storage, sensitive files, any destructive steps and return or disposal arrangements are agreed separately before transfer.

Feasibility and scope first

Pricing follows the accepted method and deliverables. A delivery date can be agreed once the device, access requirements and constraints are understood.

Boundaries

A conclusion you can trace back to the work.

The report separates direct observations from interpretations and unanswered questions. An unexpected component or firmware difference needs context; finding no discrepancy in the examined areas cannot establish the absence of every possible compromise.

If your decision depends on specialist imaging, destructive chip analysis, certified material identification or a formal handling standard, raise that requirement during scoping. We confirm what can be done and identify what needs a different method or provider.

Questions

Before you commission the work.

Will the device still work after a teardown?

That depends on its construction and the agreed methods. We discuss seals, adhesives, fragile connectors, sampling and return requirements before work starts. Any destructive step requires prior agreement; continued operation cannot be assumed for every device.

What makes a useful reference?

A reference unit with a documented source, manufacturer documentation, a bill of materials, purchasing records or a firmware image for the correct hardware revision can all help. We record where a reference came from and whether differences in revision or configuration affect the comparison.

Does this certify that a part is genuine or a device is safe?

The report states what the selected checks establish. It is not a blanket authenticity or safety certificate. Manufacturer authentication, accredited testing and suitability for a formal proceeding must be addressed as specific requirements before accepting the work.

Next step

Start with the device and the question.

Tell us what looks wrong, what you need to establish and what reference material is available. We will work through the feasible methods before arranging transfer or access.

Discuss a device assessment